


If your water heater’s acting up in Carrollton, TX, you’re not alone. Many homeowners face similar issues, but you can tackle this with some straightforward steps. Start by checking the power source and thermostat settings, as these are often the culprits. But there’s more to take into account. Understanding these key tips will help you get your hot water back in no time. Let’s explore the essential fixes you need to know.
Check the Power Source
Before diving into repairs, the first step in fixing a broken water heater is to check the power source.
Make sure your unit is plugged in and that the circuit breaker hasn’t tripped. If you find a tripped breaker, reset it and see if that solves the issue. If the breaker trips again, it might indicate a larger electrical problem that needs professional attention.
Next, examine the power cord for any visible damage or fraying.
If you detect any issues, you’ll need to replace the cord or call in a qualified electrician.
For gas-powered heaters, check that the gas supply is on and the pilot light is lit.
If it’s out, you’ll want to relight it according to the manufacturer’s instructions.
Inspect the Thermostat Settings
After checking the power source, the next step is to inspect the thermostat settings on your water heater. A misconfigured thermostat can lead to inadequate heating and discomfort.
Follow these steps to guarantee everything’s set correctly:
- Locate the thermostat: Usually found on the front or side of the heater.
- Check the temperature: Ideal settings are typically between 120°F and 140°F.
- Reset if needed: If it’s set too low, adjust it upwards and wait a bit to see if the water heats up.
- Inspect for faulty readings: If the thermostat seems unresponsive, it might need replacing.
Look for Leaks
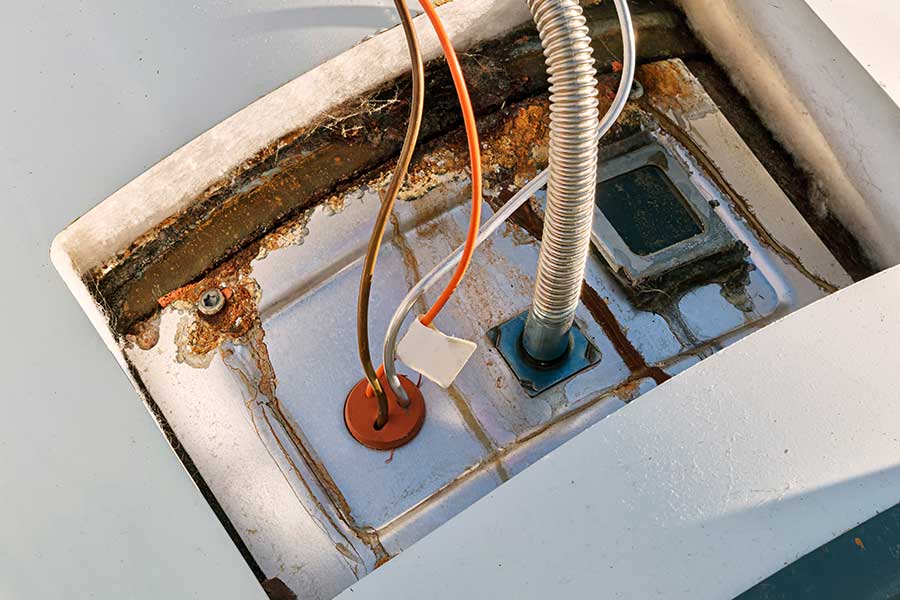
When troubleshooting your water heater, you should keep an eye out for leaks, as they can indicate serious issues that need immediate attention.
Start by checking around the base of the unit for any signs of water accumulation. Look closely at the pipes and connections; even a small drip can lead to bigger problems down the line.
Don’t forget to inspect the area where the water heater connects to your home’s plumbing system. If you notice damp spots or water pooling, it’s essential to address these leaks quickly.
Additionally, keep an eye on your water bill. A sudden increase could signal a hidden leak.
If you find any leaks, it’s best to call a professional like My Local Plumber for assistance. They’ll help you determine the source of the leak and provide reliable repairs, ensuring your water heater operates safely and efficiently.
Examine the Pressure Relief Valve
One essential component to check on your water heater is the pressure relief valve, which plays an important role in preventing excessive pressure buildup.
If this valve fails, it can lead to serious issues, including tank rupture.
Here’s how you can examine it:
- Locate the Valve: Find the pressure relief valve, typically found on top or side of the tank.
- Inspect for Leaks: Look for any signs of water pooling around the valve area.
- Test the Valve: Lift the lever gently to see if water flows out. If it doesn’t, the valve may be stuck.
- Check for Rust: Look for corrosion or rust around the valve, which indicates it may need replacement.
If you notice any issues during your inspection, it’s best to call a professional from My Local Plumber to guarantee your water heater operates safely and efficiently.
Flush the Tank
Flushing the tank of your water heater is an essential maintenance task that should be done at least once a year. Over time, sediment and mineral buildup can accumulate at the bottom of the tank, reducing efficiency and leading to potential issues.
To flush the tank, start by turning off the power supply or gas to the heater. Next, attach a garden hose to the drain valve at the bottom of the tank. Place the other end of the hose outside or in a drain.
Open the drain valve and let the water flow out until it runs clear. This removes sediment and helps maintain your water heater’s performance. Once done, close the valve, remove the hose, and refill the tank. Don’t forget to turn the power or gas back on.
Regularly flushing your tank will extend its lifespan and improve efficiency, ensuring you get the hot water you need when you need it.
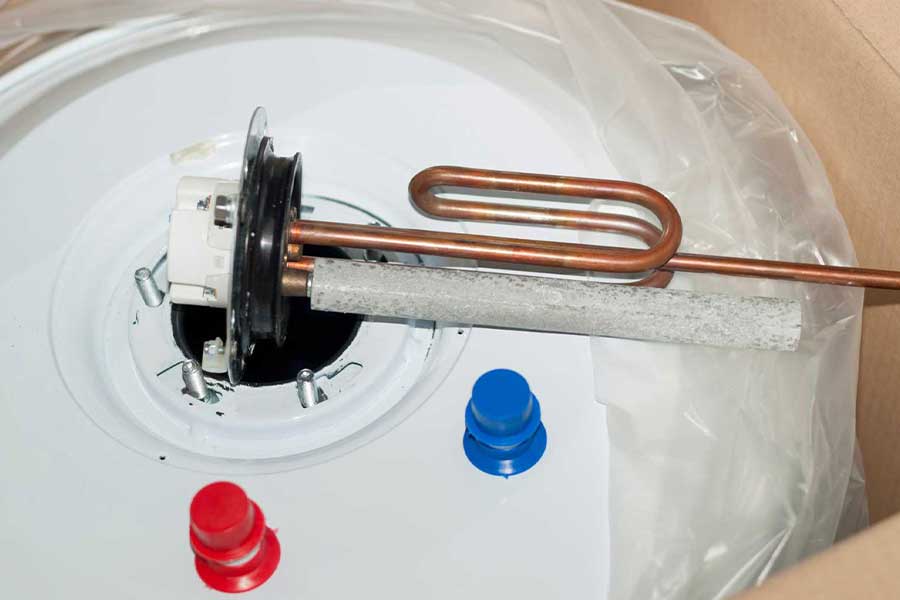
Test the Heating Elements
After flushing the tank, it’s important to check the heating elements to verify your water heater operates efficiently.
Faulty heating elements can lead to lukewarm or inconsistent water temperatures. Here’s how to test them:
- Turn Off Power: Verify the power supply to the water heater is turned off to avoid any electrical hazards.
- Access the Elements: Remove the access panels on the water heater to expose the heating elements.
- Use a Multimeter: Set your multimeter to the ohms setting and touch the probes to the terminals of each heating element. A reading between 10-30 ohms indicates a functioning element.
- Replace If Necessary: If you get a reading of infinity or zero, it’s time to replace the faulty heating element.
Call a Professional for Assistance
While testing heating elements and troubleshooting your water heater can be helpful, there are times when calling a professional is the best course of action. If you’re facing persistent issues or if the problem seems beyond simple fixes, it’s wise to reach out to an expert.
Professionals, like those at My Local Plumber, have the experience and tools necessary to diagnose the problem accurately and efficiently.
Additionally, attempting complex repairs without the right knowledge can lead to safety hazards or further damage. A licensed plumber guarantees the job is done correctly, providing peace of mind.
They’ll also offer honest advice tailored to your specific situation, helping you avoid unnecessary costs down the line. Remember, you’re not just fixing a water heater; you’re investing in the comfort and safety of your home.
Conclusion
When your water heater’s gone cold, it can feel like winter in your home. But by following these essential tips, you can be your own repair hero, melting away the chill. Think of each step as a warm ray of sunshine, guiding you back to comfort. If all else fails, don’t hesitate to call a professional—sometimes, the strongest trees need a little help from the forest. Rest assured, hot water is just a few steps away!